Lights, labels, and 'every X months' — which signal to trust?
A blinking filter light while the owner’s manual says “replace every 6 months” is a common dilemma. Labels, sensor lights, and blanket timelines often conflict because they track different things: runtime, particle load, or chemical adsorption. Replacing too soon wastes money and materials; replacing too late lowers capture efficiency, raises indoor particle counts, and can strain the purifier’s fan. The guide that follows turns vague schedules into an evidence-informed plan tailored to filter type, household use, and local air quality.
- True HEPA filters: typically 6–12 months.
- Activated-carbon/odor filters: often 3–6 months.
- Pre-filters: washable or replaced every 1–3 months depending on model.
Common filter types and baseline lifespans
Most air purifiers use one or more of these filter families. Manufacturer lifespans are lab-derived baselines meant as starting points; actual replacement depends on indoor pollution, runtime, and unit design.
- True HEPA (H13–H14): Manufacturers often recommend replacement every 6–12 months in typical home use. HEPA captures fine particles; high-load environments (pets, wildfire smoke) shorten life. For more on HEPA specifics and how grade affects service interval, see the HEPA grade and filter replacement frequency.
- Washable prefilters: These are reusable and designed to be cleaned, not discarded. Cleaning intervals commonly recommended are monthly to quarterly; replacement only when damaged or no longer effective.
- Activated carbon: Baseline guidance from makers is often 3–6 months for noticeable odor and gas removal to remain effective. Saturation is gradual and invisible.
- Electrostatic/combination cartridges: These hybrid cartridges typically carry 6–12 month baselines; performance may drop as dust loads increase or charge degrades.
Use these ranges as guidelines: monitor pressure drop, odor, and particle sensors, and consult the owner manual for model-specific instructions.
Real‑world variables that change filter life
Several environmental and usage factors strongly alter how quickly filters load. Each factor affects filter layers differently; understanding the pattern helps prioritize inspections and replacements.
Main variables and effects
- Run time and fan speed. Longer operation and higher fan speeds move more air (and contaminants) through the media, raising particulate capture and carbon adsorption rates. Expect the prefilter and HEPA to load fastest under continuous high-speed use.
- Room size and air exchange (ACH). Smaller rooms or low air‑exchange rates concentrate indoor particles, increasing loading per hour. High ACH from open windows dilutes particulates but can introduce outdoor pollutants during events (wildfire, traffic).
- Pollution sources. Cooking, smoking, candles, hobby dust, and nearby construction produce high particle or volatile organic compound (VOC) loads. These accelerate HEPA (particulates) and activated carbon (gases/odors) exhaustion.
- Pets. Hair and dander rapidly fill prefilters and contribute to HEPA loading; heavy shedding shortens service life markedly.
- Humidity and sticky aerosols. High humidity causes fibers to mat, reduces airflow, and can trap biological growth on filters. Oily or greasy aerosols (cooking sprays) foul carbon beds and coat HEPA fibers.
Inspection priorities
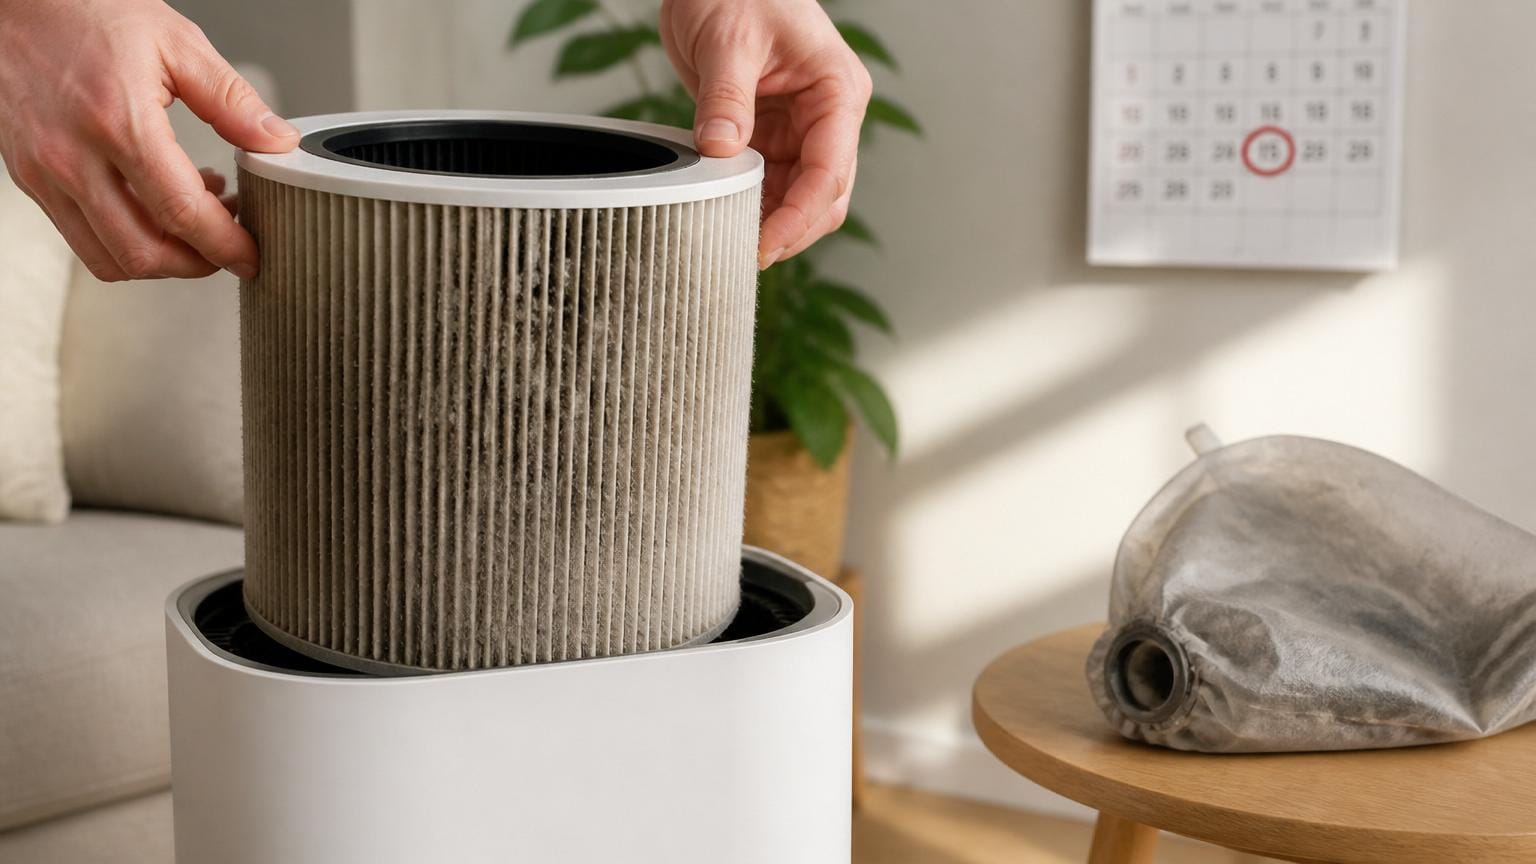
Visually check the prefilter first (dust, hair), then note HEPA discoloration or reduced airflow, and finally test odor removal to gauge carbon saturation.
Start with the prefilter—clean or replace if visibly clogged. If airflow or particle removal falls despite a clean prefilter, inspect the HEPA next. Loss of odor control indicates carbon exhaustion; humidity or greasy residues call for earlier replacement.
Step-by-step: calculate a personalized replacement interval
-
1. Find the manufacturer's rated runtime
Record the baseline lifetime the manufacturer gives (usually in hours or months). Confirm whether that baseline assumes continuous operation or a specific daily runtime; the product manual or spec sticker typically notes the reference conditions.
-
2. Measure actual daily runtime
Log how many hours the unit runs per day over one week (round to the nearest 0.5 hour). Use the average daily runtime for the calculation rather than a single day’s value.
-
3. Classify pollution level and apply a multiplier
Choose a pollution category that matches household conditions: light (low dust/no pets), moderate (typical urban, occasional cooking), high (pets, heavy cooking, smoking) or very high (construction, wildfire smoke). Apply an approximate multiplier that shortens lifetime as pollution rises (for example: light 0.8×, moderate 1.0×, high 1.5×, very high 2.0× — treat these as conservative adjustments, not exact rules).
-
4. Convert adjusted hours into a calendar interval
Compute adjusted lifetime hours = manufacturer hours ÷ multiplier. Then divide by measured daily hours to get days until replacement; convert days to months or a calendar date. Round down to allow a safety buffer (replace slightly earlier).
-
5. Set reminders and verify assumptions
Schedule a reminder a week before the calculated date and note the assumptions (daily hours, pollution category). Verify assumptions by checking airflow, visible dust on the prefilter, odor, or a portable particle counter; if indicators show accelerated loading, shorten the interval and update the multiplier.
If the filter or unit has a built-in hour counter or change indicator, use it to refine the baseline rather than only relying on the initial calculation.
Example: Manufacturer baseline = 2,000 hours. Average runtime = 8 hours/day. Household classification = high (multiplier 1.5). Adjusted lifetime = 2,000 ÷ 1.5 = 1,333 hours → 1,333 ÷ 8 ≈ 167 days ≈ 5.5 months. Schedule replacement at five months to allow a safety buffer.
Quick verification checklist:
Log runtime for a week to confirm the 8‑hour estimate. Check airflow: noticeable reduction suggests earlier replacement. Inspect prefilter: heavy visible dust or discoloration means faster loading. Smell or odor: persistent odors indicate adsorbent (carbon) saturation. Particle counter or app indicator: rising indoor PM readings confirm a shorter interval.If any check fails, pick the next-higher pollution category and recalculate.
Compact monthly checklist
-
Visual inspection
Remove the cover and look for visible dust, discoloration, or compacted fibers; heavy surface buildup signals earlier replacement.
-
Airflow check
With the unit running, feel for reduced output at the outlet or measure flow if possible; noticeably weaker airflow suggests a clogged filter.
-
Odor and particle test
Sniff for persistent musty or chemical smells and scan nearby surfaces for new dust—both indicate the filter is no longer capturing contaminants effectively.
-
Indicator and runtime review
Compare the unit’s indicator behavior with accumulated runtime; blinking or inconsistencies can mean sensors need service or the filter loaded faster than expected.
-
Record findings
Log the month’s observations and any abnormal conditions (smoke, renovations, heavy pet shedding) to adjust the next replacement date.
Airflow is reduced but the timer hasn’t elapsed — replace now?
Yes. Reduced airflow is a direct performance failure and should override calendar schedules because a clogged filter can stress the fan and reduce cleaning efficiency.
There’s a persistent odor but no visible dirt — immediate action?
Persistent odors often mean saturated activated carbon or biological growth; replace the filter and run the purifier on high until odors clear.
Indicator says replace but sensory checks look fine — trust the indicator?
Generally follow the indicator; it accounts for load and runtime. If uncertainty persists, inspect visually and consider sensor recalibration or professional service.
Visible clogging or dust cake found — how urgent is replacement?
Replace immediately. Visible clogging indicates the filter has lost capacity and will no longer trap particles reliably.
Act immediately when:
Airflow drops noticeably or the fan strains Persistent odors or smoke exposure occurs Visible clogging, mold, or heavy dust build-up is presentThese sensory and performance changes indicate functional failure and justify replacing the filter before any scheduled interval.
Quick debunks
Life varies with runtime, pollution, and filter type.
Calendar rules ignore actual load; check airflow, runtime, or pressure drop.
Lights are estimates; sensors can be obstructed or miscalibrated.
Cross-check with visual filter checks and airflow tests.
True HEPA loses efficiency if washed; fibers damaged.
Washing releases trapped particles and deforms media; replace per instructions.
Monitor runtime and airflow; use visual checks.
Vacuum or wash only prefilters; dispose true HEPA.
What to prioritize when buying replacement filters
-
Correct media and verified ratingMatch the original filter media (true HEPA, activated carbon, electrostatic) and the stated performance rating (MERV or true‑HEPA). Manufacturers often list particle capture efficiency and test standards.Look forExact media and test standard (e.g., HEPA H13, MERV 13).AvoidVague labels like "HEPA-type" without efficiency or standard cited.
-
Verified compatibility and fitConfirm model numbers and physical dimensions, airflow direction, and gasket or slot design. A poor fit reduces efficiency and can overload the motor.Look forOEM or explicitly listed compatible part numbers.AvoidGeneric sizes with no model mapping or unclear fit instructions.
-
Seller reputation and counterfeit indicatorsPrefer authorized dealers or the manufacturer's store. Counterfeit red flags: misspelled packaging, missing certification marks, different logo, unusually low price, or no batch number.Look forAuthorized retailer, clear packaging, serial/batch numbers.AvoidUnknown third‑party sellers with poor reviews and inconsistent labeling.
-
Subscriptions, longevity claims, and replacement cost trade‑offsEvaluate advertised lifespan against real‑world runtime; subscription options can simplify timing but compare total cost. Longer rated life can mean higher upfront cost but lower frequency.Look forTransparent lifespan assumptions and subscription flexibility.AvoidUnverified longevity claims without test or usage assumptions.
Seven‑Day Log and Ongoing Habit Plan
- Record the air purifier model and store the manual for reference.
- Note the manufacturer's recommended replacement interval as a baseline.
- Log daily runtime for seven consecutive days to see actual use patterns.
Run a focused seven‑day logging week to convert estimates into a practical replacement schedule. Keep notes simple: model number, manufacturer interval, daily runtime hours, visible filter loading, odors, and any noise changes so data can be compared to baseline expectations.
Day 1 — locate model number and manual; Day 2 — record manufacturer’s replacement interval; Day 3 — log daily runtime hours; Day 4 — visually inspect and photograph prefilter/HEPA for dust loading; Day 5 — note odors, blowback, or reduced airflow; Day 6 — compare collected runtime to the baseline and flag anomalies; Day 7 — set an adjusted calendar reminder and schedule seasonal revisits. Ongoing habit: retain the seven‑day log (note app or spreadsheet), review after major events (renovation, wildfire season, new pet), and update reminders yearly.